Lewmar Portlights
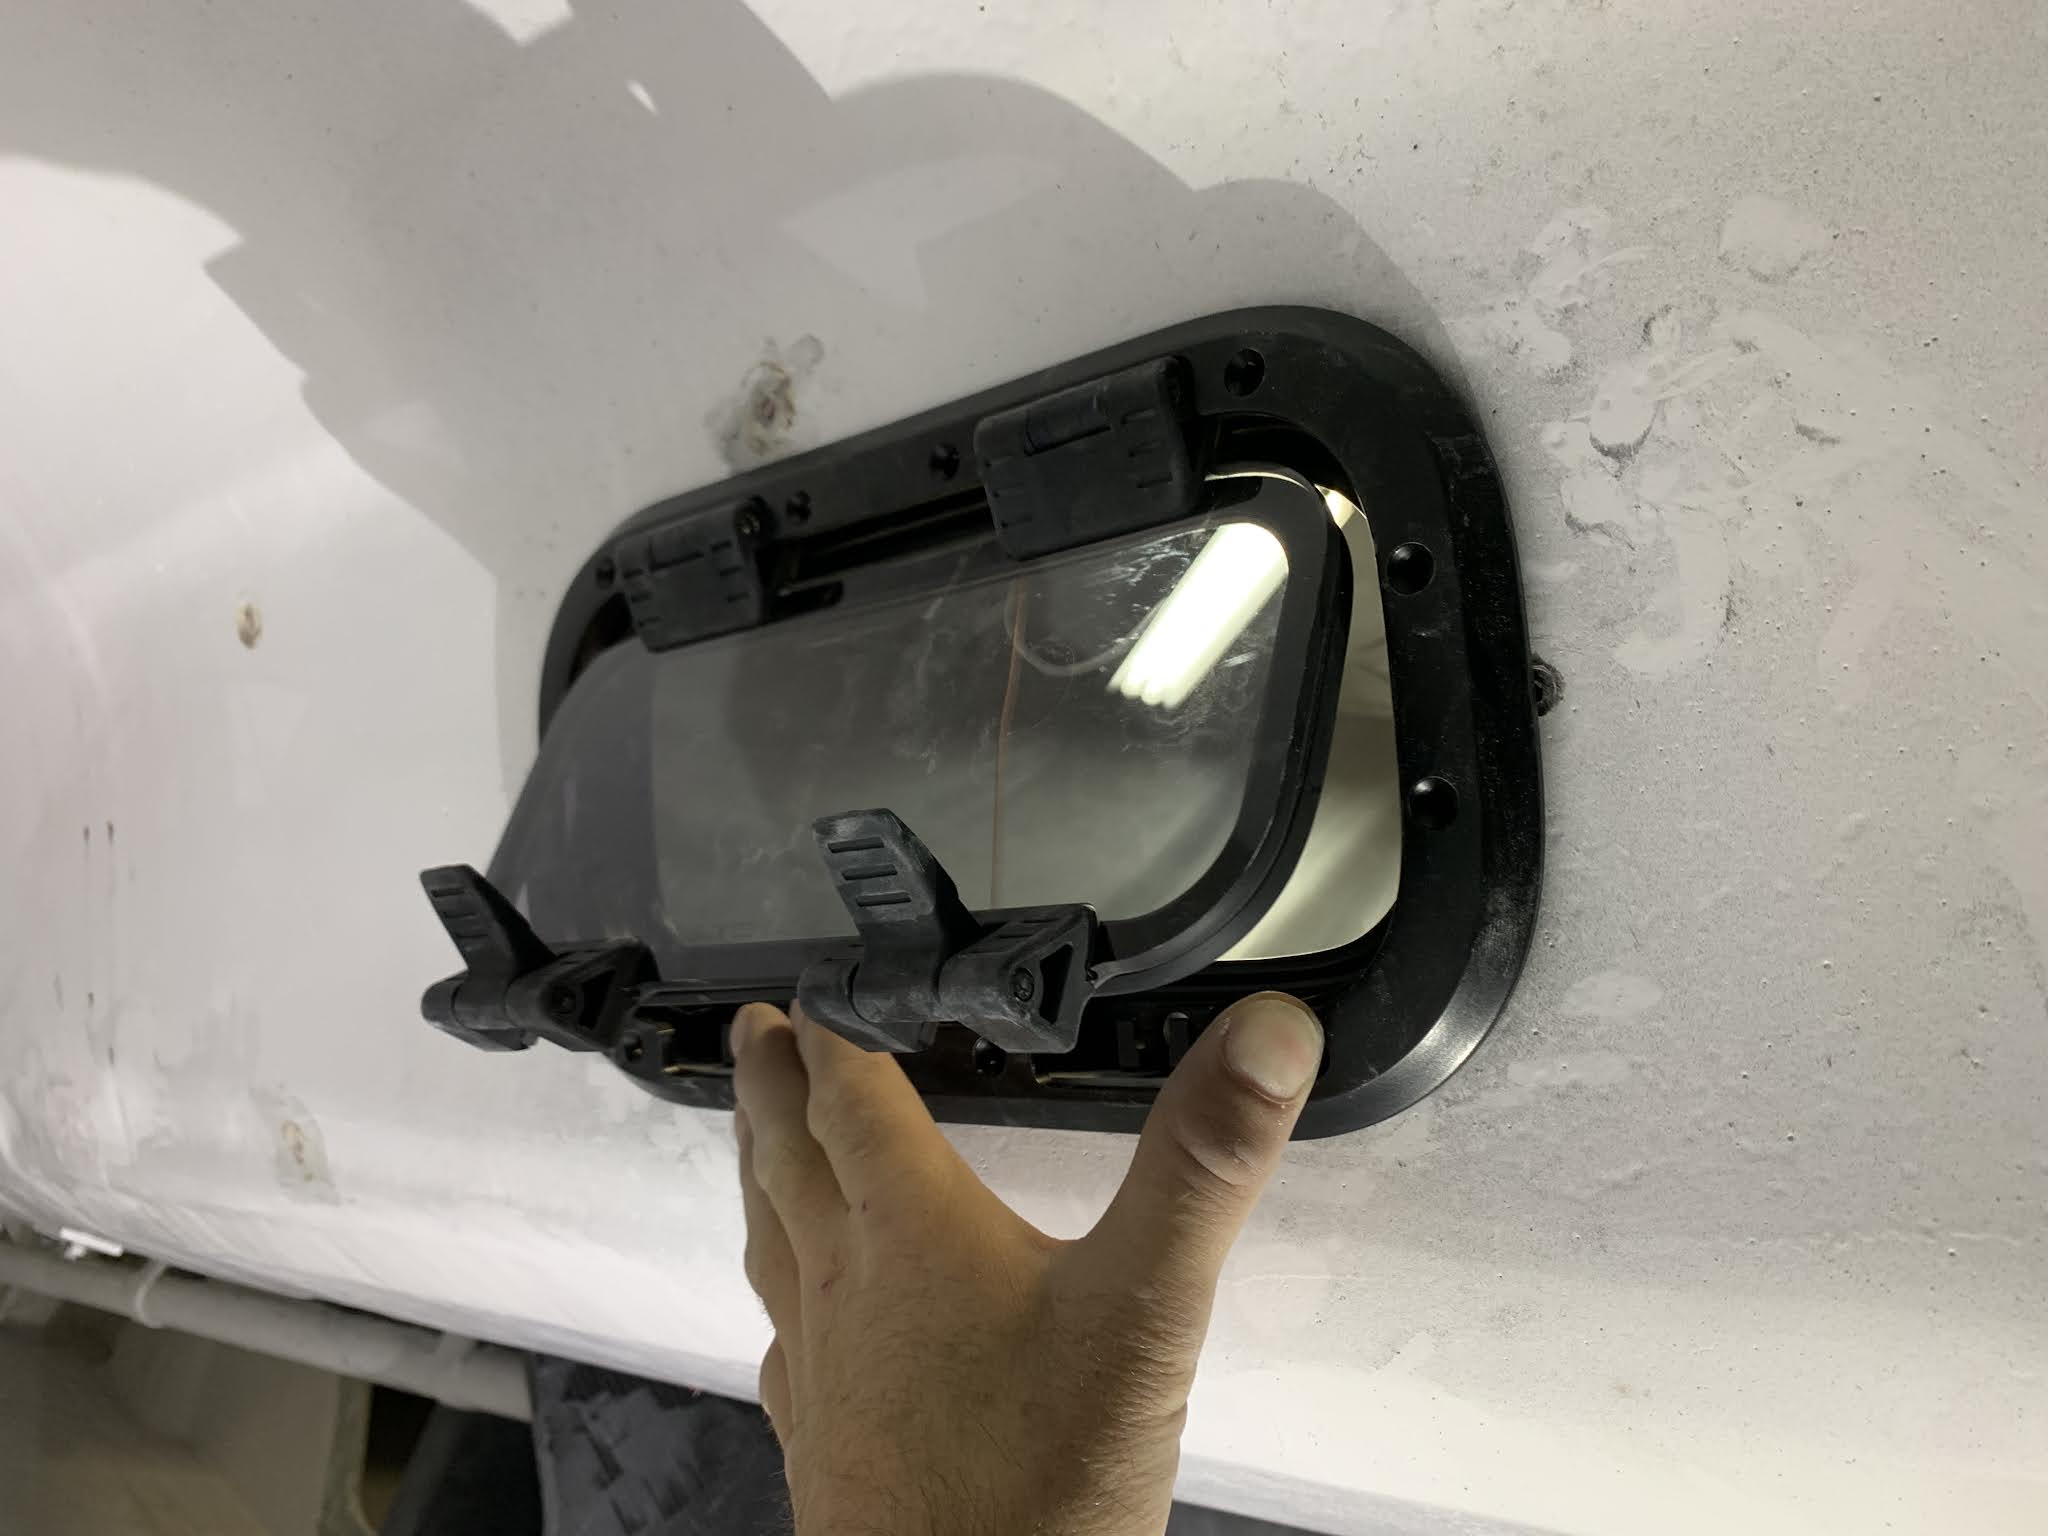
Any hatch guy will tell you the same thing. If you warp the frame at all during install, you'll be sorry. The key to all these products is to mount them on a dead flat surface if you want them watertight.
Let's back up.
To be honest, I was slightly disappointed in the fit and finish out of the box. My main complaint is how the primary gasket sits so proud. Still, there doesn't seem to be a cleaner option out there. The basic setup favors a very thin laminate wall as well, so that might be something for the next customer to note.
I toyed around with a few ideas for making a flat area for the hatch on the otherwise compound curves of the Melges cockpit tanks. In the end, I ordered some 3/16" G10 from McMaster Carr and smoked out a couple of ovals on the home-brew CNC. After a run over the router table to give them a rolled edge and some preparatory sanding, I marked the boat using a monofilm template that I flipped to position the parts identically on the port and starboard tanks. After priming both the ring and the hull, I used the pastry bag to pipe a nice bead of thickened epoxy and pressed the rings into position. In order to avoid warping the rings, I used only a single waxed up #10 fastener on each end as my clamp. After the resin kicked, it was a snap to cut out the openings with a flush trim bit in the smaller router. While the pics don't really highlight the curvature of tanks which made a standard mount impossible, I would say this was a very quick and fast way to make flats that seemed to work very well for me.


Comments