Putting the DD Housing Together
Getting my head around the drop drive has been tough. I didn't design the moving bits, and I really made my own life hard by miniaturizing the top end so as to avoid a large obstacle for the helmsman. Packing everything into a super small space is cool in theory, but creates lots of issues for fabrication, and perhaps eventual maintenance. In the end, this project didn't come with instructions. At some point, you have to mix resin and you have to start gluing, even if you might be going down the wrong road. With that attitude, I finally put my anxiety to rest by focusing on the action of just building, blind or not.


With the access port done, I spent many hours re-aligning the various parts over and over to make sure I had enough room for the total sweeping motion of the drive strut. As part of that process, I had to trim the water jacket to the perfect outline to fit up into the hump, but to also mate with the drive itself. I used door skins and a hot glue gun, monofilm templates, and trial an error working relentlessly to get the three primary parts to dry fit appropriately. The process was really slow, but critical. I logged a million trips up and down out of the cockpit from inside and under the boat.


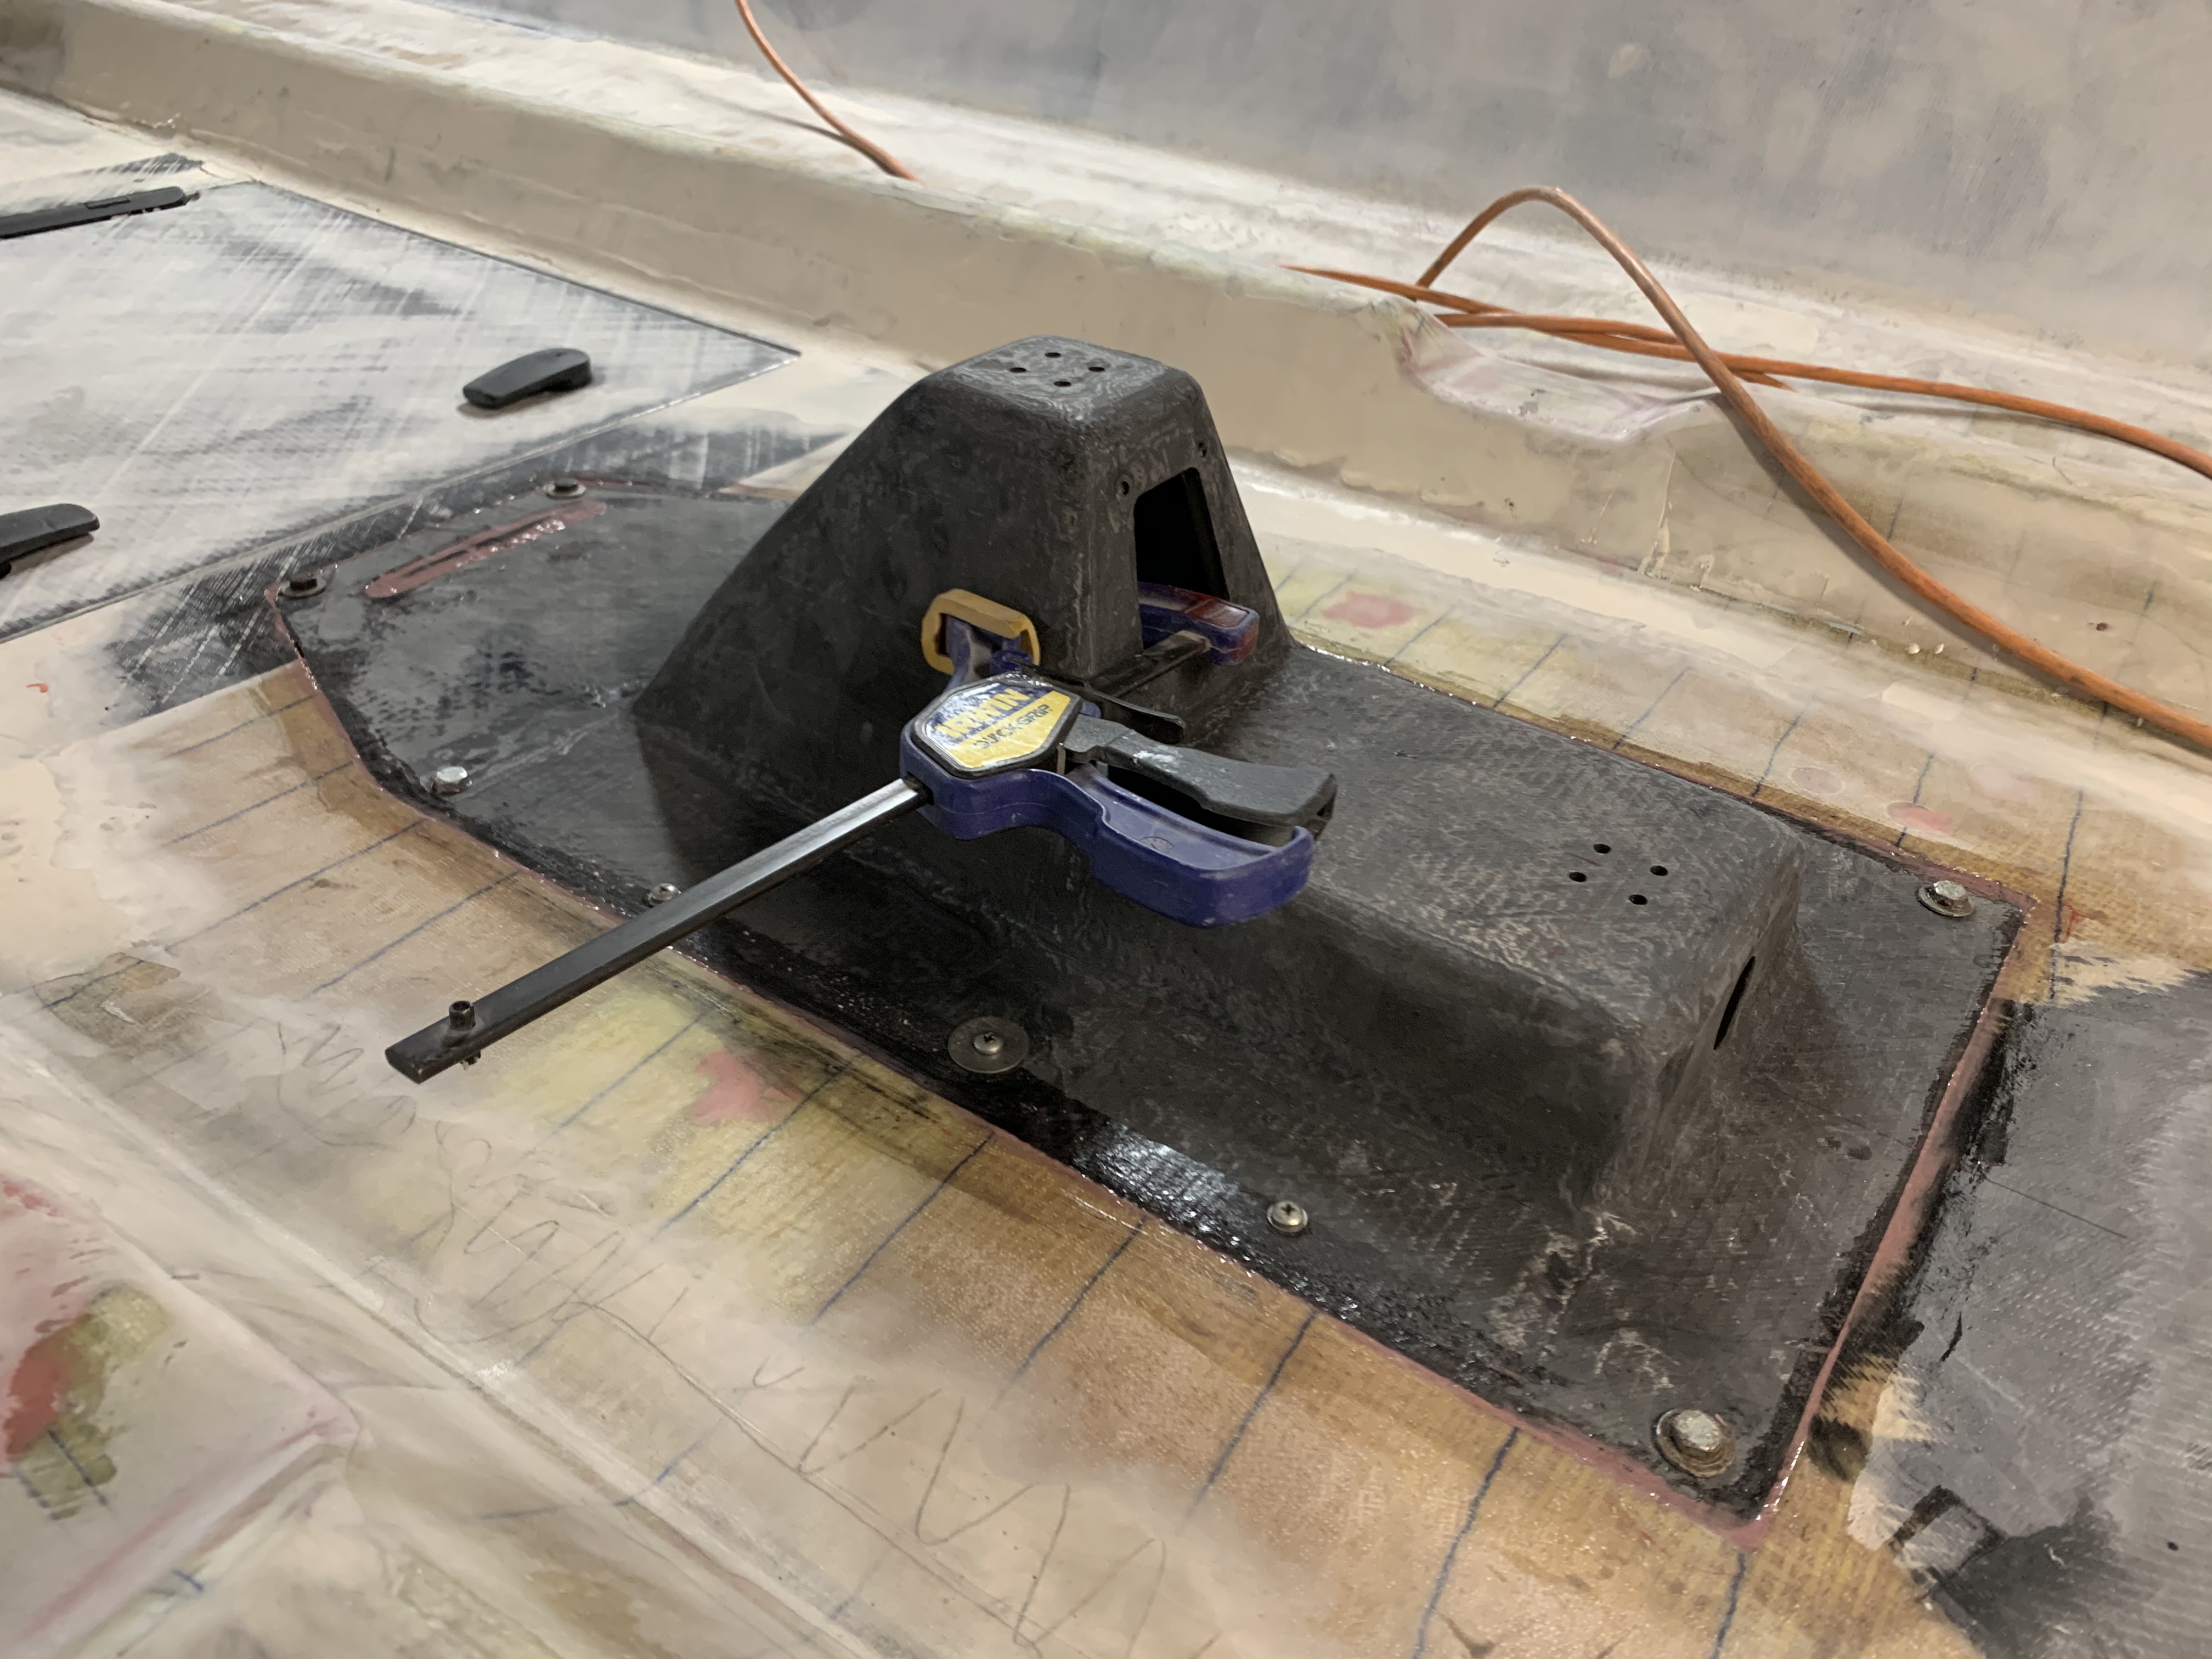
Now committed, and with the parts dry-fit many times over, I went ahead and bonded the whole thing together. I started with some goo between the hump and the water jacket. On the boat side, I primed and used a notched trowel to get even coverage of thickened adhesive. To hold it altogether, I used a combination of wood clamps, quick grips, a roof rack strap, and a series of pre-waxed mechanical fasteners.


After knocking down the outside of the new hump with the pneumatic 90 grinder and a few sanding blocks, I started really thinking about needing an access port. I settled on a 2 finger door on the flat facing the traveller. I milled the G10 ring on the CNC, and used Keyserts for backing nuts. To thread the G10, I put the tap in the cheap drill press and turned it by hand to keep things square. I primed both sides, piped some thickened resin onto the ring, and used waxed up #10 screws as my clamp. The ring is 1/4 depth to handle the inserts, which meant it needed to be thinned in the center as shown to avoid interfering with the drop drive strut. I cut a door plate out of carbon scrap, but will need to find a way to electrically isolate the stainless fasteners if I'm serious about corrosion. I also pre-drilled mounts for the two mainsheet blocks at this stage while I still had a nicely marked centerline on the part.


With things aligned the best I could manage, I pushed forward and installed the Harken 421 through-deck blocks that will serve as exits for the the control lines that raise and lower the drive. I am really hoping that this idea is workable as it's a large deviation from the original design. These new blocks were mounted on G10 plates, isolated from the carbon, and built in a way that hopefully allows their difficult, but possible, removal/replacement. Button top #8 stainless screws are just barely accessible from the 2 finger door with an extra long 3/32" hex key, and an open end wrench should just barely be able to get on the nut side.


Comments