Engine Grid
For the drop-drive to work, the engine needs to mount at a bit of an incline. This is something that I worked on over several weeks, but never really found a conclusive moment to summarize the process in a post. Here are the techniques I used to build the first parts of the engine grid.
For step one, I tried to pinpoint the angle of the engine. To do that I overlaid the Beiker model, and compared it to the slant of my floor in Rhino. I used a grid, and the Mac ability to print in poster mode to knock out a pattern from home. With the window in the living room serving as a light box, I taped it altogether. and mounted it to some monofilm to give it some structure.
I talked to Jim Betts briefly about this step, and he said just bond some foam formers to the floor and bag over the top of them. Following that guidance, I perforated, buttered, and stacked a bunch of rough-cut layers of 1" PVC to make blanks. Here is a pic showing the bagging process, complete with a couple dead battery weights to reduce any warping.
To cut them out, I visited my favorite wood-smith, William Walker. Bill has a furniture and cabinet shop to die for, and he is truly a generous spirit. With some subtle arm-twisting, I found myself playing with his unbelievable bandsaw in short order. It took a couple tries to get them right as I wasn't happy the first time I brought them back to the boat to check them out.
Here Bill rounds the edges on our second attempt with a quick swipe on the edge sander.
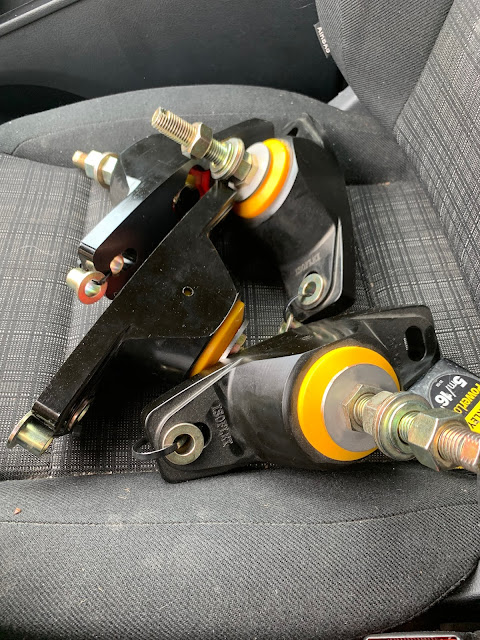
The next step was placing G10 pucks into the core. These will hold stainless threaded keyserts for the brand new engine mounts from Isoflex. The keyserts came from McMaster Carr once again. I used the simple CNC at the office to cut the disks. After roughing them up, they were primed, glued, and stacked into precut rebates made with a hand router.
Everything that looks simple on a composite boat takes many steps. After priming the floor, and the formers, I used a bunch of extra butter and a notched trowel to lay down a batch of thickened epoxy. Having previously leveled the boat, I was able to draw a laser line to keep my parts plumb.


Comments