I decided to forego water ballast, and opt for cabinets instead. This was one of the most difficult calls in this project, as I do love sailing short-handed, but in the end, every cubic centimeter of volume inside the boat is a premium.
For me, it's always important to make features feel like they belong. In some ways, modeling and faking out furniture is like sculpting. I will mock something up, just to get the ideas flowing. Then I will tear it down and mock it up again, just slightly smaller, or a little different. I keep on this path of constant iteration until things start to come into focus. The idea of just getting something on paper, a rough draft, or a half built physical model is something that can't be over-valued.
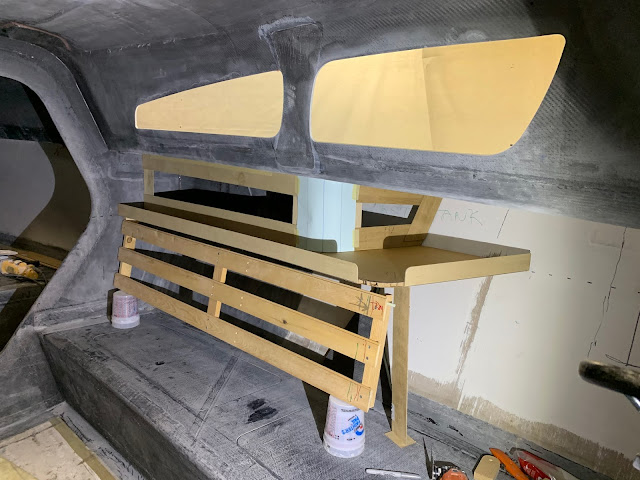
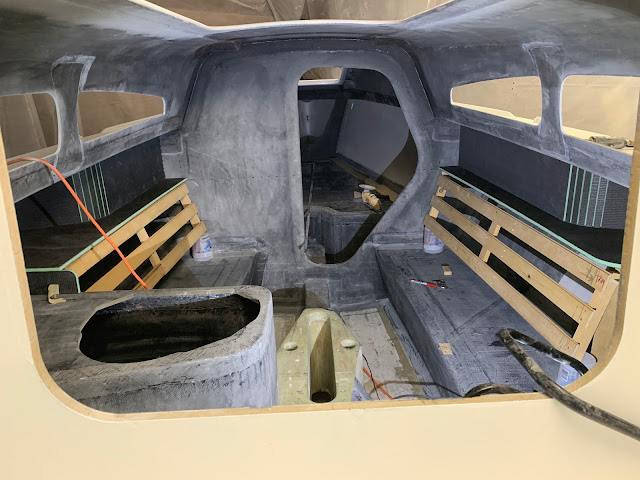
After some messing around, I came with the basic form. Side cabinets, port and starboard, not the same, but complimentary to one another, and angled in the back as a nod to the bench form. I like clean design when I can get away with it, so I wasted a fair bit of time working out how to line up SOSS hinges to get a truly flush fit and finish for the upward swinging doors. Here's a look at the port side unit.
The process always starts with the hot glue gun. By the time I paused to snap this pic, I'd run through numerous scenarios. This seemed to be the best balance.
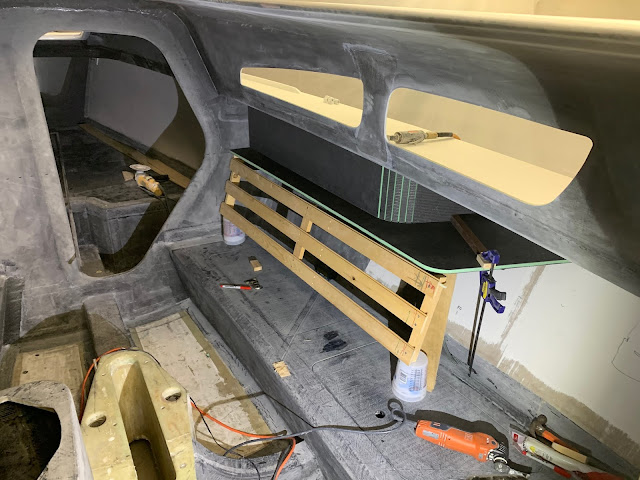
With the general idea worked out, I re-created the mock-up with more precision. This time I used monofilm and paper to create the large filleted surface, and some 1/2" cardboard honeycomb for the counter tops.
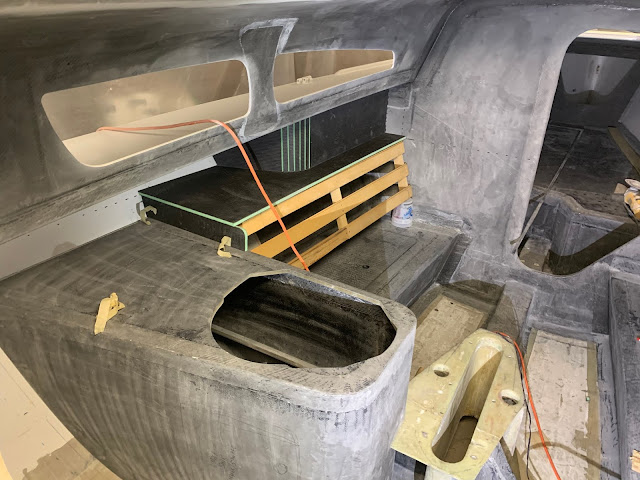
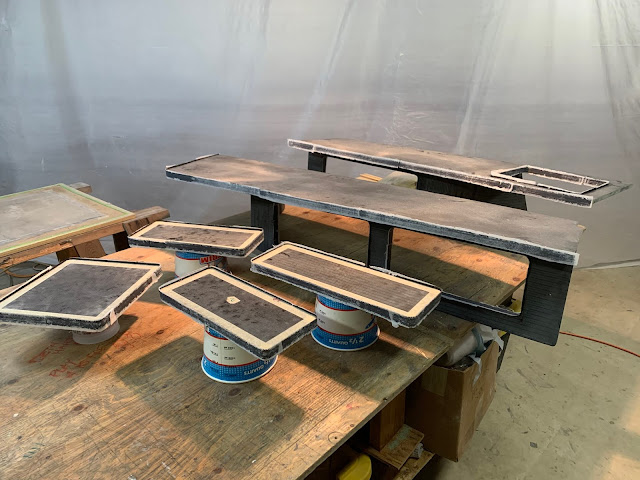
With the plan set, and the templates showing a decent fit, it was on to doing it all again, this time in carbon and foam. Using the flat stock made over Christmas, I fired up the home-made CNC and zipped out the parts. I had a serious brain lapse and milled everything out upside-down, thus those green kerf trenches you see that should be closed up with the panel bending the opposite direction . Rather than start over, I swore at the wall, then decided to just fill those trenches with goo and move on.
With the kerfs milled on the outside, rather than the inside, my trick didn't work as well, and I had to hot glue a bit of blocking to the panel to force a smooth curve.
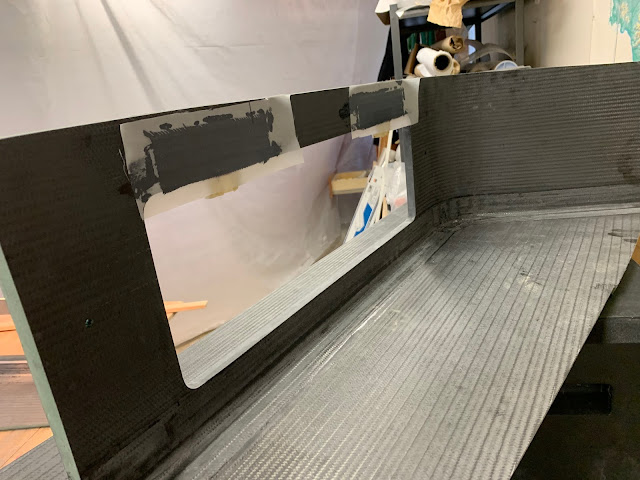
While annoying, the last steps saved the panels and I pushed forward with filleting, taping and cutting doors. To cut the doors, I used the CNC to mill out some mdf patterns. With the custom router foot setup I cut the door skins with the 1/16" bit, coming at the panel from both sides, using the same technique from earlier in the build. The bolts allow you to align the mdf on both sides of the panels, something critical since the small router bits are by nature shorter than the total cut depth. With both skins cut, I push hard and broke the small remain core to pop the panels free. The beauty of this method is that you don't have to do separate layups for the doors.
With the door panels cut, detail work shifts to coring panel edges. In my case, I use a variety of router bits along with a following bearing. Once the foam is knocked back, then it's thickened epoxy and edge banding with carbon.
Eventually, it's time to start working on assembling the components. It took me a lot of effort to crack the code on the SOSS hinges. The big challenge is to get everything, both hinges, an the front face of the doors in perfect alignment. This is the technique I came to using.
- Mill rebates into door edges using precise mdf jigs (similar to this).
- Glue wood blocks into those door rebates.
- Mill SOSS hinge rebates into those wood blocks.
- Make wood blocks for the cabinet side and bury the hinges in them.
- Position the door in place and bed those cabinet side blocks in thickened epoxy while all is aligned.
- Finish the install with a layer of carbon inside the cabinet to fully secure the hinges.
Add a stainless stay arm, and a non-metallic press-to-close from Sugatsune and alas we have beautiful flush doors.










Comments